Start by finding the angle of the outside corner using a pair of 1 by 4 in 2 5 by 10 2 cm boards.
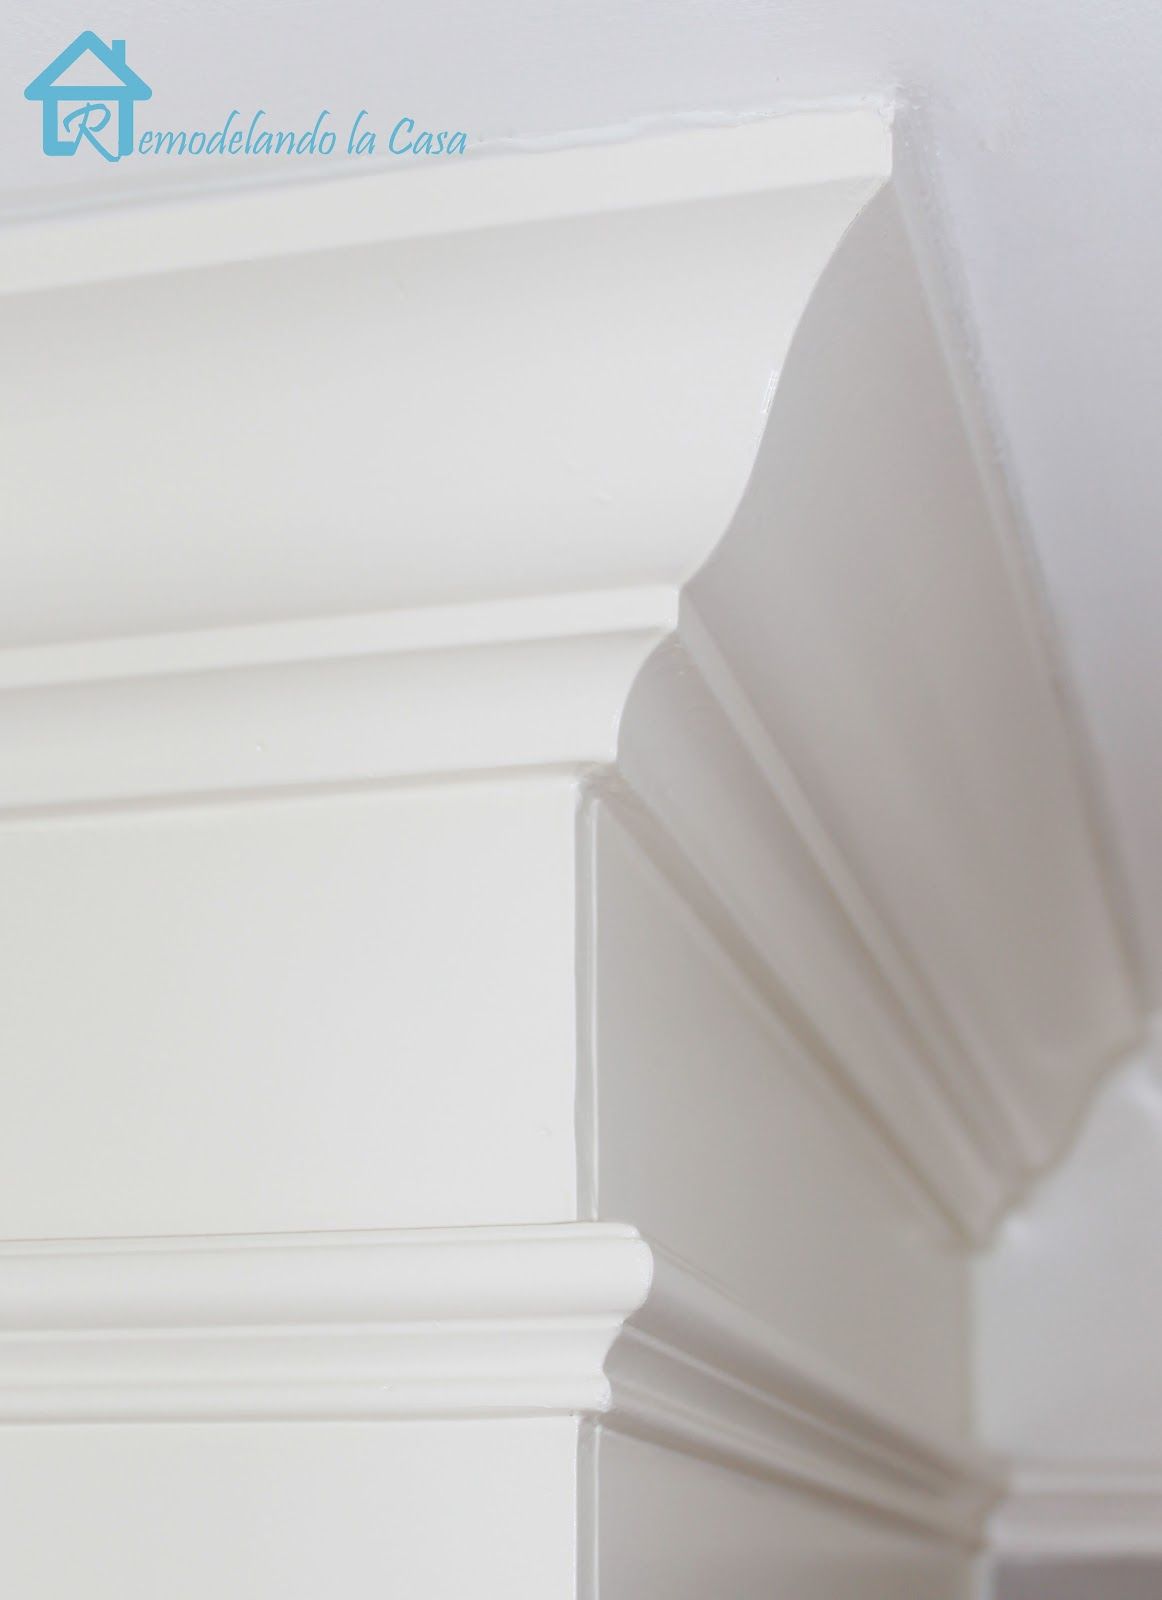
Crown molding corner cuts ceiling.
Measure the distance from corner to corner on the first wall.
Crown molding is a type of decorative trim used to cover the seam between a wall and the ceiling.
When installing trim such as baseboard and crown molding master craftspeople use this method and you can too.
Cutting it may seem like a daunting task but it s actually pretty simple.
This is usually done with a miter saw.
Watch the above videos to see how this is done.
Then cut the crown molding to the correct angle using a miter saw.
The first method is to cut 2 pieces at an angle and fit them together.
Transfer the measurement to moulding.
It s a good idea to install a triangular nailing strip in the corner behind the crown molding.
As a rule of thumb you should mark the bottom of the crown molding.
To create perfect crown molding cuts you just hold the crown upside down in the saw as if the saw fence table represents the ceiling wall intersection.
To avoid mishaps hold the crown molding up to the corner and draw a slash showing the direction of the cut photo 11.
Non compound method vertically nested bottom of the crown molding rest against fence top of the crown molding rest against table angled flats on back of molding must rest squarely on the fence and base of the saw crown molding vertically nested against fence decorative edge is always against the fence.
Sawing is a lot easier with the molding locked into place.
You can t do it like any other trim pieces because the molding sits at an angle between the wall and the ceiling image 1.
Also ensure that the ceiling side of the molding is the one lying on the saw s deck and the wall side is facing.
If the saw blade tends to slide to one side as you start a cut make a small starter notch with a utility knife.
Clamp the crown molding to the work surface.
Coped molding gives the tightest fit best a.
This simple cut is how to cut crown moulding to be used in between crown.
Using a coping saw image 2 is the easiest way to cut the corners because a coped joint is tighter than a mitered joint.
Accuracy is the key to avoiding a misfit.
This method works best for perfect 90 degree corners where you don t need to worry about compensating for strange angles.
Do you need a nailing strip.
There are two ways to cut crown molding for an inside corner.
Support see jane drill by shopping on amazon.
How to cut crown molding.
Leah explains how to cut crown molding accurately step by step for outside corners in this beginner tutorial.